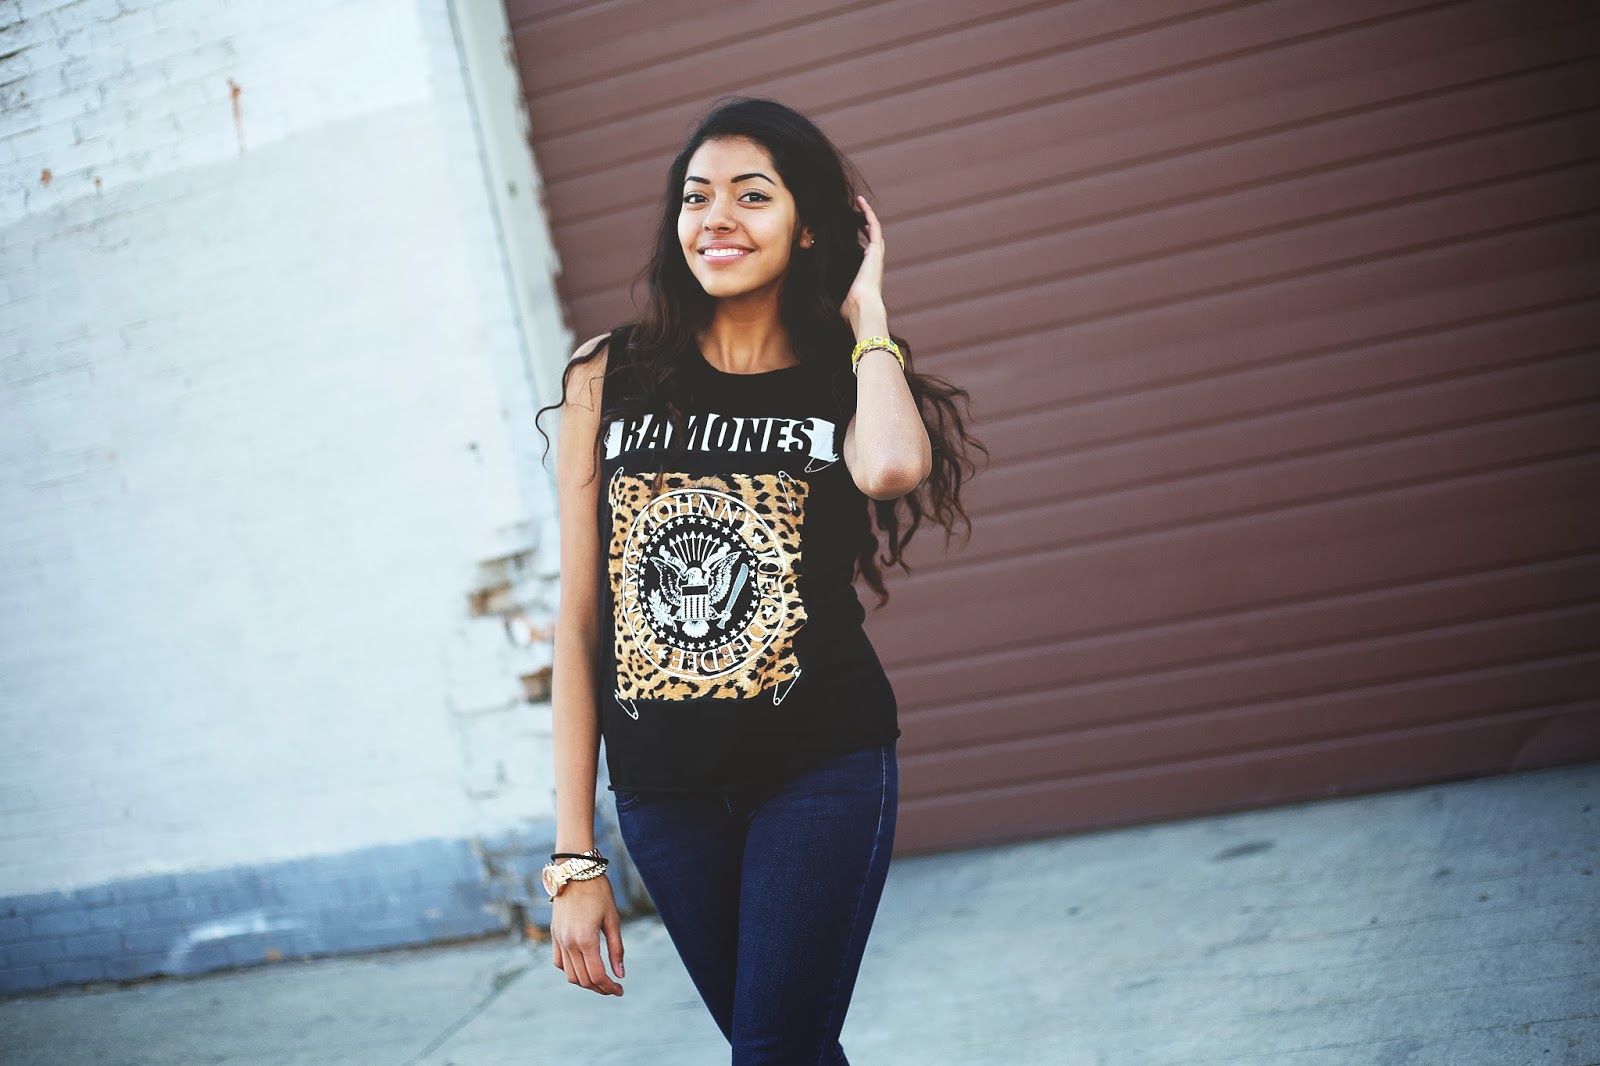
Tuesday, April 15, 2014

How I went from Fauxtographer to Photographer


I remember when I first started taking up photography seven years ago. It seems like a life time ago. I started out with a Sony point-and-shoot camera and Photoshop CS3. I look at some of my work from when I first began and I can’t help but laugh. It was horrible! At the time, though, I thought it was amazing. I had selective color, heavy vignettes and quotes plastered all over my pictures. I was, what’s referred to as, a “fauxtographer”.

According to www.urbandictionary.com, a fauxtographer is “a person who tries to jump on the photography band-wagon by ‘pointing-and-shooting’ hundreds of terrible pictures, which they will upload to Myspace in an album titled ‘My Photography’.”

Yes. I’m guilty.

After sometime of playing around with it, I bought my first DSLR camera back in 2009. I bought a Canon T1i and, at the time, it was the best entry-level DSLR you could find. But, I still drooled over the Canon 5D MKII. Though, I had no clue why besides that it took awesome pictures.
Shot with Canon 5d mkIII. yeah, I still drool.

The minute I got that camera, I started shooting right away-- in automatic mode, of course. My one year old son soon became a victim of my fauxtography. Poor child, he had no clue what was coming. He never stood a chance.

I was pretty impressed with my camera and started to get comfortable with it-- Comfortable enough to take it off of automatic mode and into…no flash. You thought I was going to say manual, didn’t you? Wrong. Manual is for photographers.  I hated flash. It made my photographs look ‘yucky’. Natural light was just so much better (Well, in my opinion it still is in some cases.)

Soon, my photographs were starting to become a little more coherent. I still wanted to expand my hobby, so I purchased a Canon 50mm 1.8. When I put that baby on my camera, it was magic! I mean, Holy-Cow-My-Background-Is-So-Blurry magic.
 
I shot this in Feb. 2014 with 50mm 1.8 Canon 5d mkIII. MAGIC.
I thought I was the greatest photographer. So I started doing photography professionally. Yes, people paid me to take their pictures. Not only that, but I developed an attitude. I was insulted when anyone else tried to do photography. They copied me! At one point in time, I knew at least 5 other people who claimed to be a photographer. It frustrated me beyond what it should have. I was in denial. I thought I was better than them. I wasn’t. I was just another fauxtagrapher.

After a certain amount of time, I hit a wall. I was bored with the same pose and generic image on every single photograph. That’s when I started to do research on ways that I could improve my photography. By improving my photography, though, I mean, searching on the internet for poses.
Want to know what I learned about posing?  I was absolutely horrible at it. But, was I? I thought so. I kept comparing myself to these great photographers. I couldn’t understand how my images looked so bad and theirs didn’t, when all I did was copy their pose exactly. I am a curious person by nature. I love to learn and discover things. I wanted to know what, exactly, made their work so much better than mine.

Boy, did I learn a lot? You betcha.


First, I learned that the root word, photo, is Latin for light. Did you know that? If you did, congratulations. You’re very smart! If you didn’t, let me explain: that little piece of knowledge taught me everything I needed to know about photography. 

To be honest, I wasted many years being a fauxtographer. I was more worried about trends in post-processing than taking my camera and learning how to properly use it. I don’t want you to make the same mistakes I did. I want you to succeed in creating beautiful images that you can be proud of. In later blog posts, I intend to teach you everything I know. From, lighting tips all the way to post-processing.

 So lets get this journey from Fauxtog to Photog started!
Don't look back, guys. Look forward to the start of an awesome journey!

Thursday, February 20, 2014

Regal Beauty: My 2014 Goals

Like most people, I set out with a few goals at the beginning of the year and I try very hard to accomplish them. No matter how big or small. Since I made a big purchase last year for photography, I wanted to make my goals this year be centered around photography. I wanted to make that big purchase(my 5d mkiii) justifiable.

My goals are pretty large goals and not easily obtainable, but that's what working hard is for! And it's okay if I don't do all of them because there is always next year (but, writing them down in this blog makes me determined to accomplish them this year.)

My first goal is the most simplest, yet hardest of tasks: produce quality images I can be proud of. It takes a lot of trial and error. Im still learning and I'll never stop. What I have learned so far, though, is that a well thought out photoshoot will almost always produce a great image. If I compare my impromptu photoshoots to my well thought out ones, the latter of the two always trumps the first one. Here is why: I have an idea. I have a location in mind at the right time with angles and lighting thought out. I have a whole concept behind it.

For instance, my shoot with Erin

 
I wanted a regal, yet rustic image of a beautiful queen. Her hair and make-up was designed and planned prior to the shoot as well as her costume. They pieced together perfectly and told a story. When I add a story to my photo shoot, it makes it a lot easier for my model to convey what I want. When me and my model are on the same page, magic is created. My photo shoot with Erin is one of my favorites and it has set a standard for all of my photo shoots. 

My second goal is to get more fans/followers/clients. I want to have a reason (other than me liking photography) to do what I do. I want my images to connect with people. I want them to say, "I like that." Otherwise, I am gaining nothing out of this. And, if I can accomplish my first goal, then I can accomplish my second because I wont be able to gain followers unless I give them great images.

My third goal is to travel at least once this year for a photography job. I think it's fascinating to get to travel and do what you love. Those are two of my favorite things! (side note, I booked a traveling gig, so GOAL ACCOMPLISHED.)

My last goal is the most scariest, most terrifying, hardest goal ever to me! I want to become a published photographer. I think it is such a big deal to me because it means my work is good. It means that people like it and they want to see it. It creates potential fans/clients and it means that I am doing something right. I want to be successful at what I do! 
I know, I know, I talked your ear off. But , hey, it's my blog! I have so much to do in this year and I cant wait for all of the adventures that my camera will take. Please stick with me and follow me and my cameras journey. It wouldn't  be the same without you!


 (here are some photos of my latest photo shoot titled: Regal Beauty


Saturday, January 11, 2014

How to create the "matte" effect on Photoshop

One of the most popular trends for photography right now is the matte effect. Its a super easy way to give your photos a little character without having to do a lot of work! I thought I would give a tutorial on how its done because, honestly, I want to save you precious time and money on buying those expensive photoshop actions and lightroom Presets! Anyway, here is the before and after! I hope this helps!

Step One: Open up the image that you want to edit. I chose this little gem of my friend Marlen!


 Step Two: Add an Adjustment layer and select curves

Step Three: Set your curves layer to look like this


(your input: 33 output:31)

Step Four: Create another adjustment layer and select curves


Step Five: Set layer "Curves 2" layer to look like this


(input: 173 output:222)

And there you have it your image should look like this:
TADA!