One of the most popular trends for photography right now is the matte effect. Its a super easy way to give your photos a little character without having to do a lot of work! I thought I would give a tutorial on how its done because, honestly, I want to save you precious time and money on buying those expensive photoshop actions and lightroom Presets! Anyway, here is the before and after! I hope this helps!
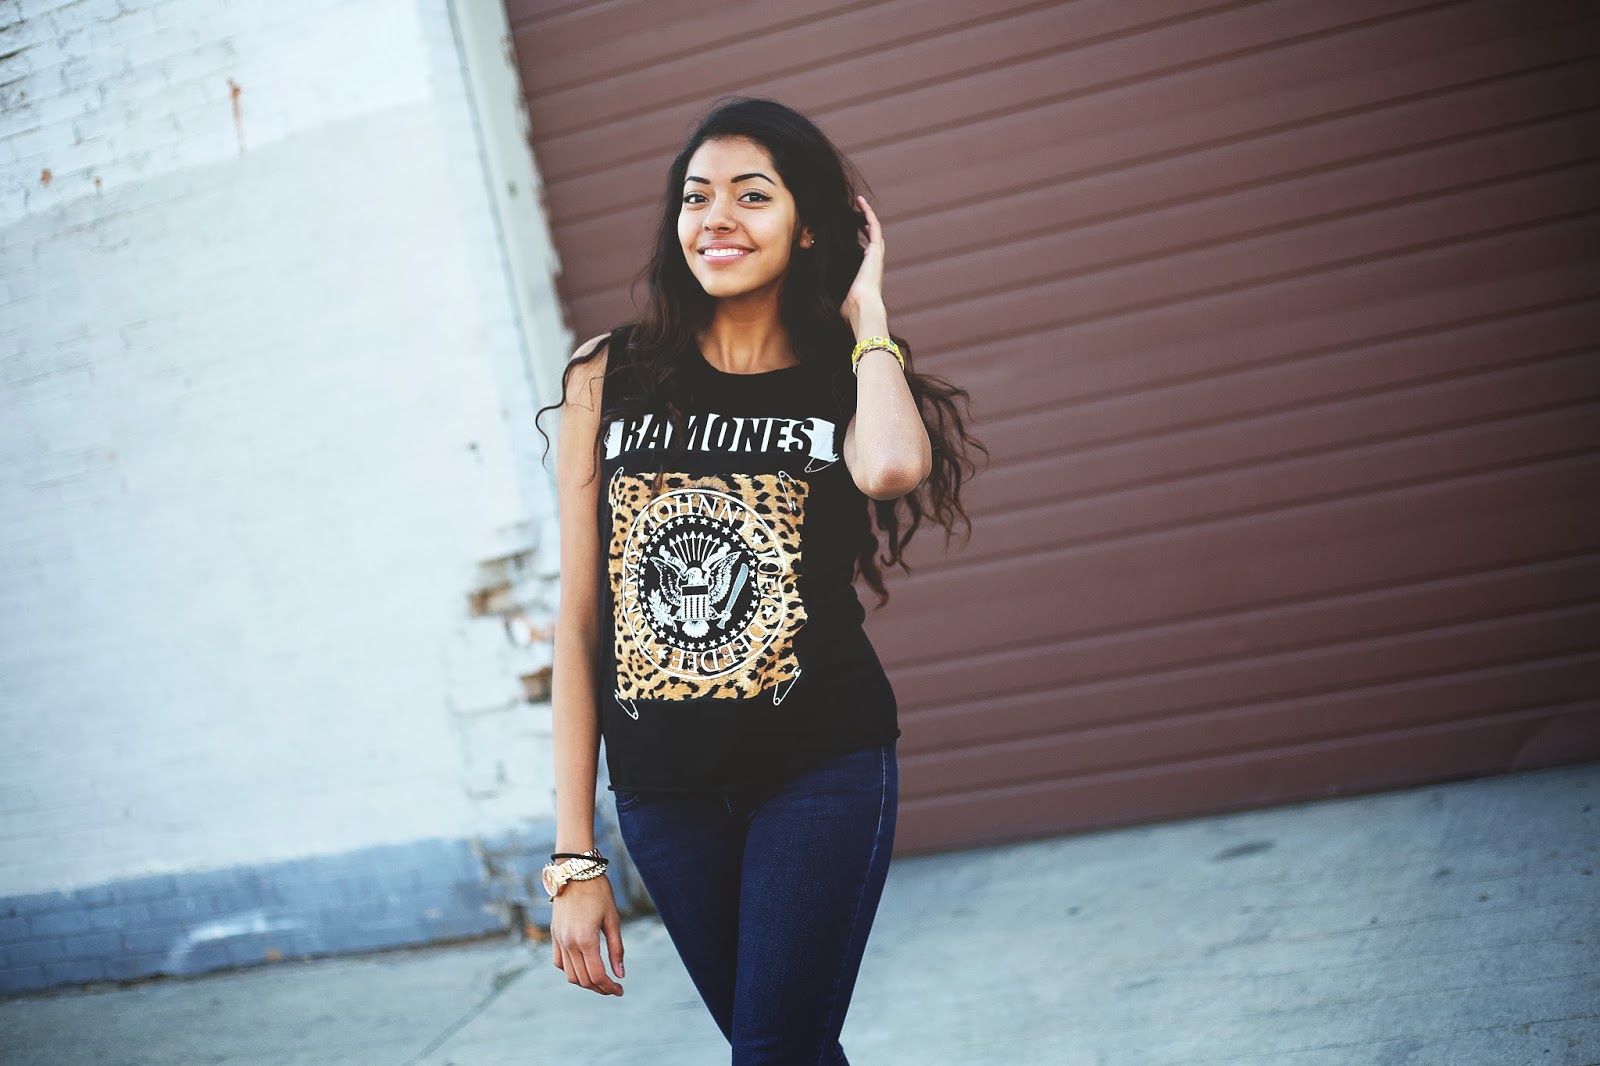
Step One: Open up the image that you want to edit. I chose this little gem of my friend Marlen!
Step Two: Add an Adjustment layer and select curves
Step Three: Set your curves layer to look like this
(your input: 33 output:31)
Step Four: Create another adjustment layer and select curves
Step Five: Set layer "Curves 2" layer to look like this
(input: 173 output:222)
And there you have it your image should look like this:
 |
| TADA! |


No comments:
Post a Comment